Mid-summer is quietly the best time of year to start drying herbs, even if nobody tells you that outright. Most garden herbs are at their most fragrant right before they flower, which for a lot of common varieties means right now — and a dried bundle started in July will be fully cured and ready for the shelf well before the weather turns. Here’s how to actually do it, whether you’re working with a full garden bed or three pots on a windowsill.
Why Summer Is the Right Time
Herbs put their energy into essential oils — the thing that gives them scent and flavor — right up until they flower. Once a plant blooms, it redirects that energy into seed production, and the leaves lose a lot of their potency. That’s why the general rule is to harvest leafy herbs like lavender, mint, rosemary, and sage just as buds are forming but before they’ve fully opened. Mid-to-late summer is exactly that window for most temperate-climate gardens, which makes it the natural start of drying season rather than autumn, when people often assume it begins.
There’s a practical reason too: herbs dry best in warm, low-humidity conditions, and a stretch of dry summer weather gives you a real head start before the air turns damp in fall.
When and How to Cut
Harvest in the late morning, after any dew has burned off but before the heat of the afternoon — that’s when essential oil content tends to peak. Use clean, sharp scissors or shears rather than pinching stems, which can bruise the plant. Cut just above a leaf node so the plant branches out and keeps producing rather than putting out a single leggy stem.
Skip anything that looks damaged, yellowing, or has been rained on within the past day or two — excess surface moisture just slows drying and raises the risk of mold later.
Three Ways to Dry Herbs at Home
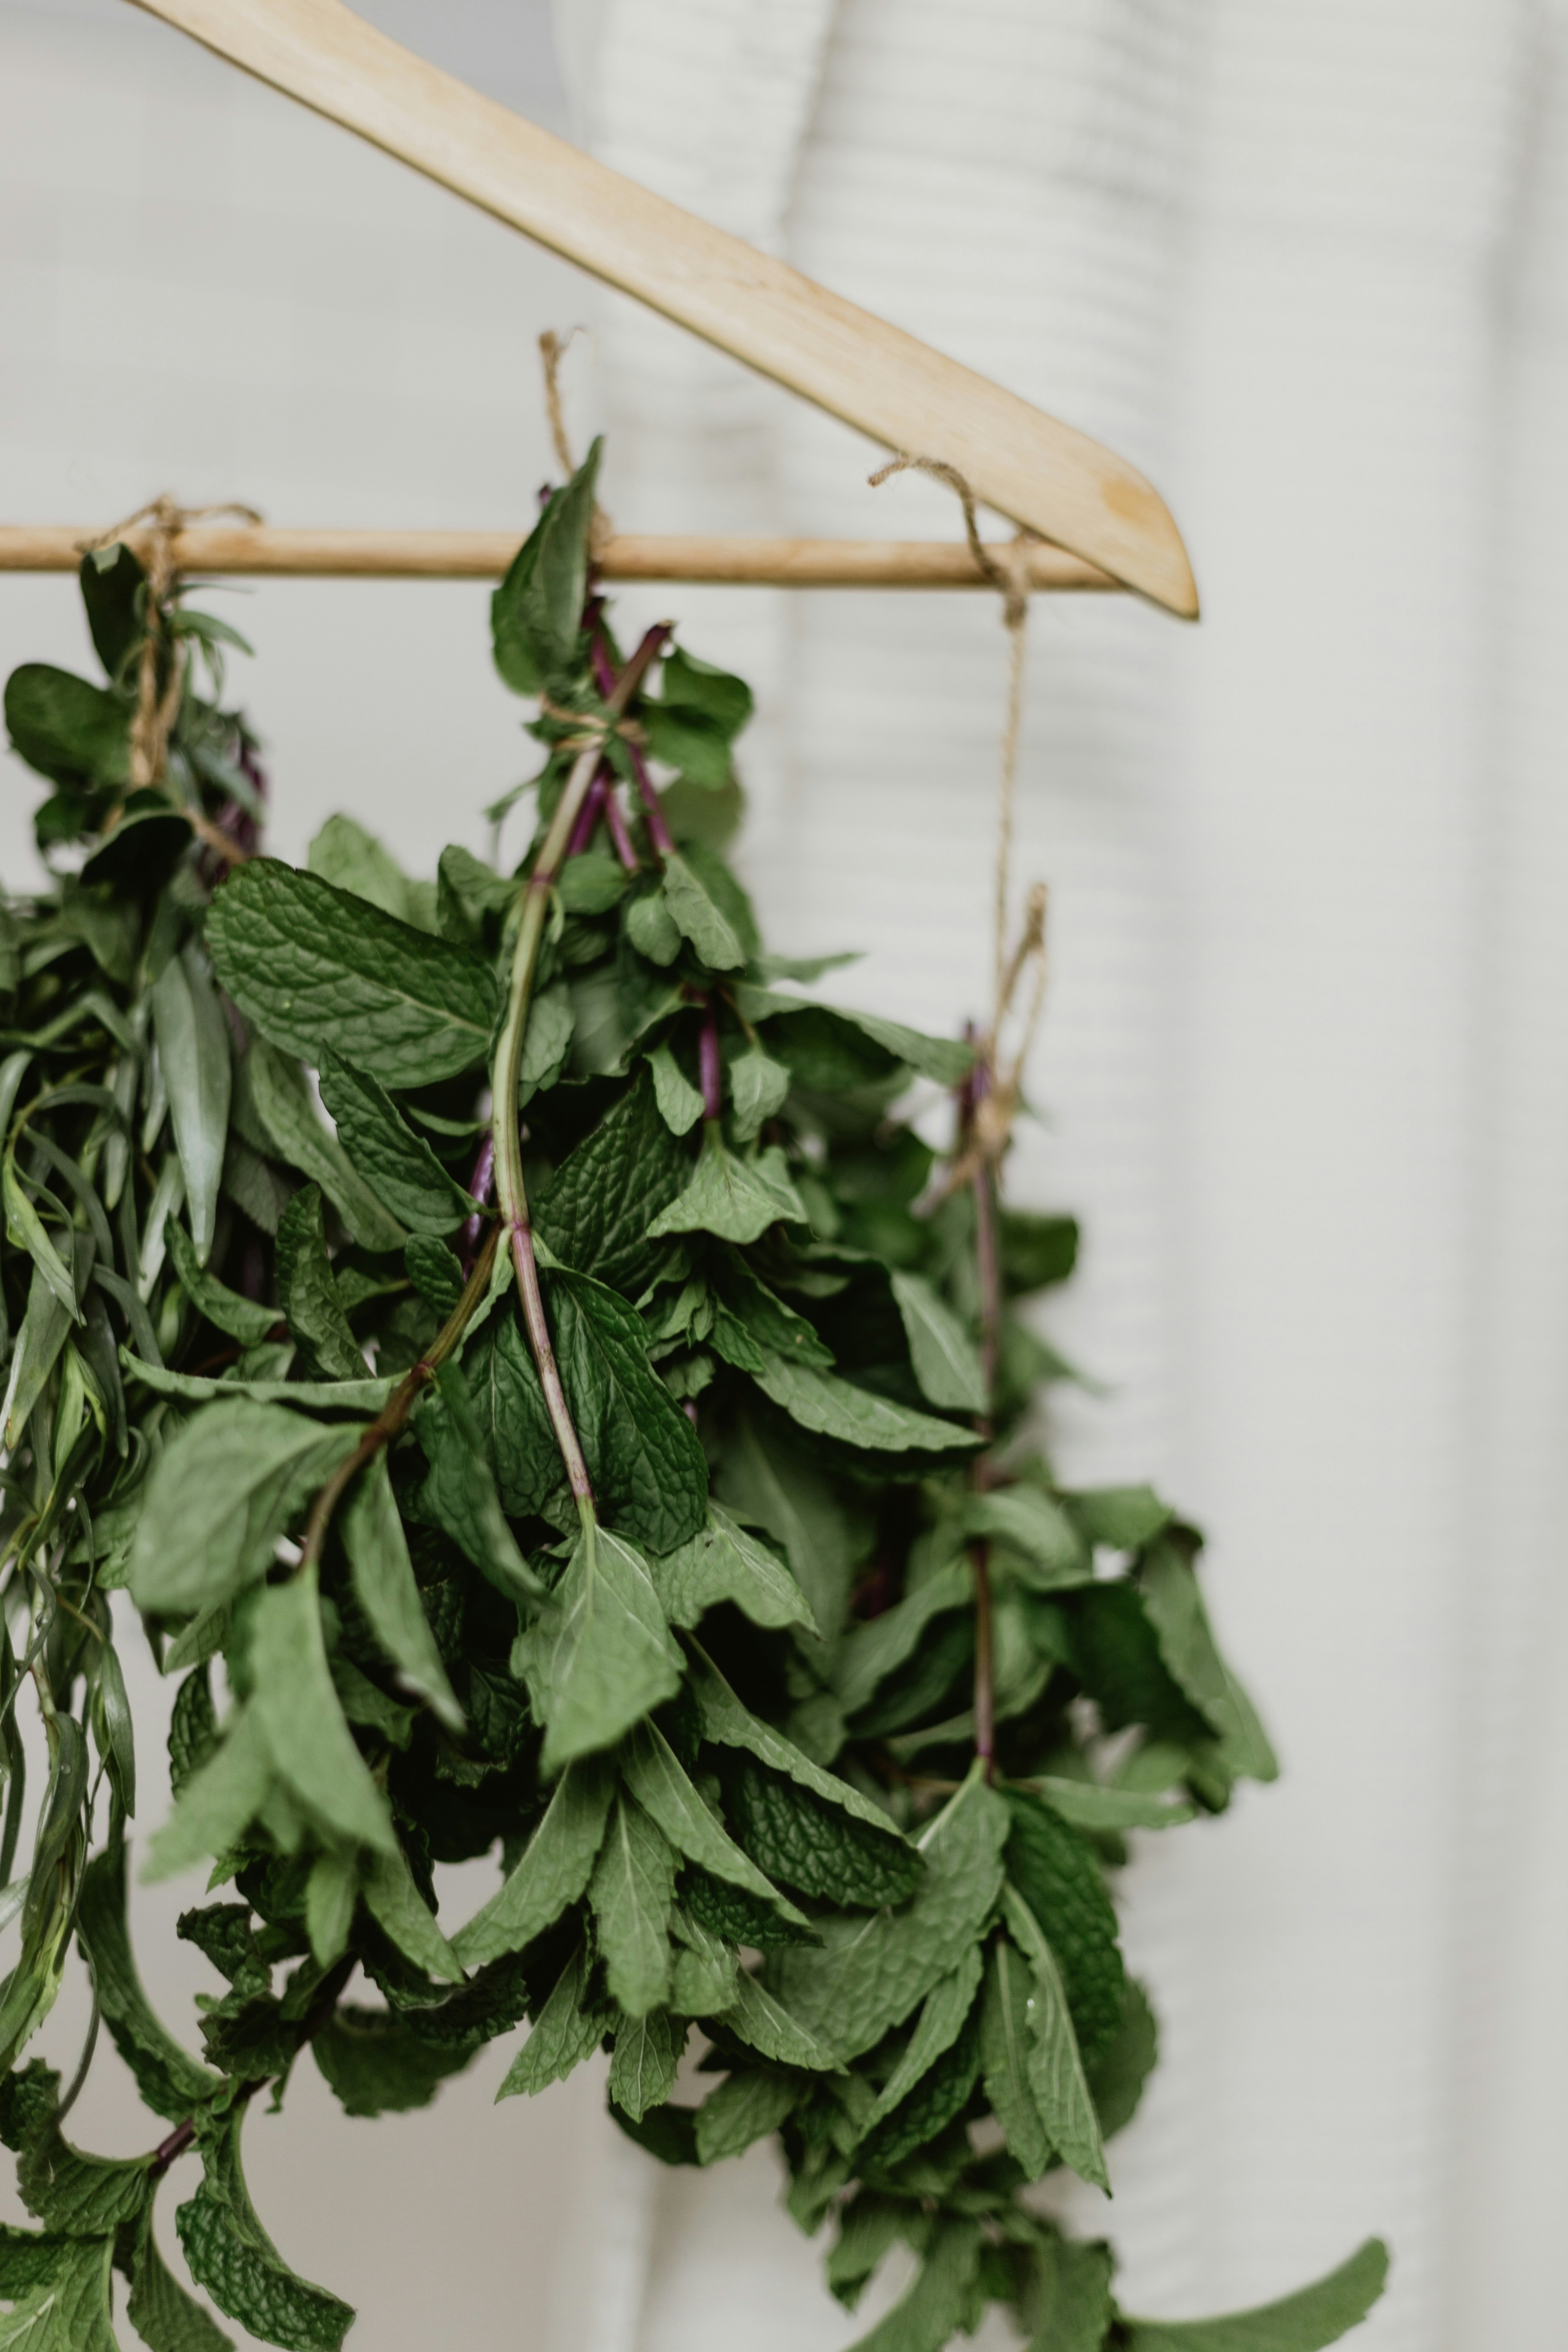
Bundle and hang. The classic method, and still the best for sturdy, woody herbs like rosemary, sage, thyme, and lavender. Gather 5–8 stems, secure the ends tightly with string or a rubber band (stems shrink as they dry, so a rubber band actually holds better than string), and hang the bundle upside-down somewhere warm, dry, and out of direct sunlight — direct light fades color and breaks down flavor compounds. A kitchen corner, a pantry, or a covered porch all work. Most bundles are fully dry in one to three weeks.
Screen or rack drying. Better for herbs with delicate leaves that don’t bundle well — basil, mint, and parsley tend to trap moisture and mildew in a hanging bundle. Lay leaves in a single layer on a mesh screen, a paper-lined tray, or a drying rack, and set it somewhere with good airflow. Flip every day or two. This method is faster than hanging but needs more attention.
Oven or dehydrator, low and slow. If you want herbs dry within hours instead of weeks, the lowest oven setting (usually around 170°F, propped slightly open) or a food dehydrator on its herb setting will do it. This method sacrifices a little aroma compared to air-drying, but it’s the most reliable option if you’re working in a humid climate where air-drying risks mold.
How to Know They’re Done
Leaves should feel brittle and crumble easily between your fingers rather than bending. Stems should snap cleanly instead of folding. If anything still feels slightly flexible or cool to the touch, it needs more time — herbs that are packed away while still holding moisture are the most common cause of mold in storage.
Storing What You’ve Dried
Once fully dry, strip leaves from the stems and store them whole rather than crumbled — crumbling releases oils and shortens shelf life. Amber or dark glass jars are worth seeking out over clear glass, since they block the light that gradually breaks herbs down; label everything with the herb and the date, since dried herbs lose potency after about a year even when stored well. Keep jars in a cool, dark cabinet rather than above the stove, where heat speeds up the fade.
Whatever you don’t jar for cooking, save a few stems as-is — a hanging bundle of lavender or rosemary is decor in its own right, and it’s the easiest, lowest-cost way to bring a little of that apothecary-shelf look into a kitchen.
A Small Practice Worth Repeating
There’s something genuinely satisfying about a shelf of jars you filled yourself, each one dated in your own handwriting. It’s slower than buying dried herbs, and it doesn’t need to be perfect — a slightly uneven bundle still smells exactly the same as a tidy one. Start with whatever’s already growing nearby, even if it’s just a single pot of mint on a windowsill, and let the rest build from there.
Looking for more small seasonal rituals? Follow along on Pinterest for daily inspiration.